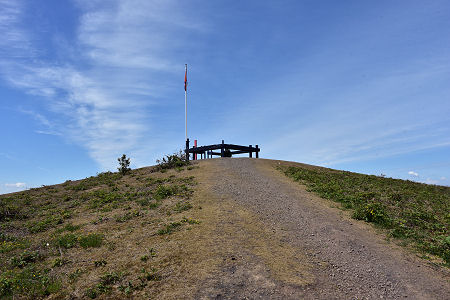
 Nearing the Viewpoint |
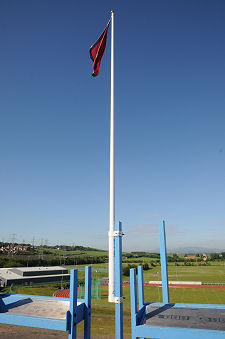
Just to the north of the A1 as it passes between Tranent and Prestonpans, a pyramid shaped mound rises a hundred feet or so above the surrounding landscape. Topped off with a flagpole and flag, and a series of display boards set within a steel structure, this is the viewpoint for the Battle of Prestonpans, sometimes (geographically inaccurately) known as the Battle of Gladsmuir.
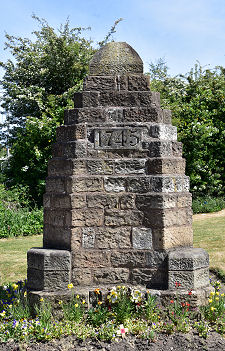
Reaching it is no great effort. You turn off the A1 at its junction with the A198, head north a short distance to a roundabout, then head west for a short distance to a junction marked by the memorial shown below right, then head south along the access road to a sports centre and golf driving range. The pyramid rises on your right and it is a short walk to the top. Having reached it, it becomes immediately obvious (if it wasn't already) that the last couple of centuries have made their mark on the surrounding landscape in many ways.
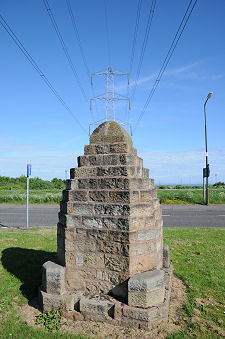
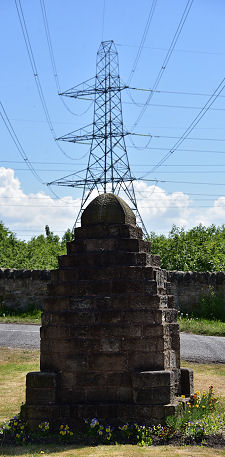
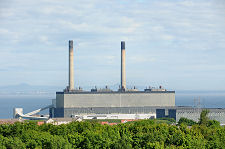
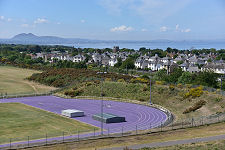
The A1 passes to the south of the viewpoint, and the East Coast Main Line railway passes immediately to its north. Meanwhile not much further to the north is the site of the (now demolished) Cockenzie Power Station. Difficult though it may be to believe, elements of this landscape look far better than they did until fairly recently. The pyramid on which the viewpoint is located is a landscaped spoil heap associated with the open cast mining that once took place on land now reclaimed to form sports facilities to the west of the viewpoint. The power lines associated with the power station still remain, however. (Continues below image...)
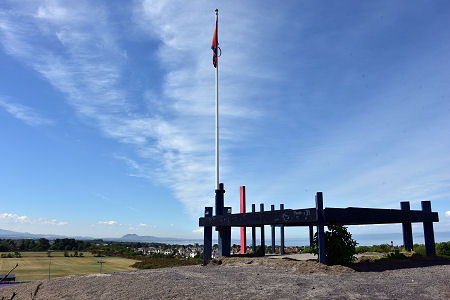 Flag and Viewpoint |
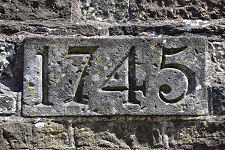
The Battle of Prestonpans took place on 21 September 1745. The 1745 uprising was the last of a series of attempts by the Jacobites dating back to 1689 to replace the Hanoverian dynasty on the thrones of England, Scotland and Ireland. The '45 began on 19 August 1745 when Prince Charles Edward Stuart, "Bonnie Prince Charlie" raised his standard at Glenfinnan in the Highlands, and ended in bloody defeat at the Battle of Culloden on 16 April 1746 (see our Historical Timeline).
In the meantime, however, the Jacobites had come very close indeed to succeeding. Bonnie Prince Charlie's army reached Derby on 6 December 1745, before retreating after a closely argued meeting in the upstairs room of a Derby pub. Meantime, the Hanoverian court was packing its belongings onto ships in the Thames. Had Charles advanced George II would probably have fled, leaving Charles' father as James VIII of Scotland and III of England.
The fact that the '45 came so close to success owes much to what happened at the Battle of Prestonpans. The Jacobites had advanced rapidly across Scotland. Most of the Hanoverian government's best troops were fighting in Europe, and their only army in Scotland, commanded by Lieutenant-General Sir John Cope, was cut off in Aberdeen. In a last effort to prevent the Jacobites marching into England, Cope sailed his troops to Dunbar and advanced west. Meanwhile the Jacobites were moving east from Edinburgh. The two armies came face to face in the landscape now overlooked by the viewpoint.
By late on 20 September, the Hanoverians had lined up facing south along a line roughly followed today by the East Coast Main Line railway, while the Jacobites were occupying the higher ground south of what is now the line of the A1. Between them lay very marshy ground, and Cope clearly though he had picked a strong defensive position. However, a local man, Robert Anderson of Whitburgh, advised the Jacobites of a path through the marshes to the east of the Hanoverians' positions, and the Jacobites redeployed overnight. Cope had to rearrange his forces in a hurry the next morning, and had not fully succeeded by the time the Jacobites attacked. The battle was over in about 15 minutes and the outcome was the death of some 200 Hanoverian troops and the capture of 1,500 more, in return for the loss of some 20-30 on the Jacobite side. The road to England lay open, though the Jacobites first returned to Edinburgh, where they stayed until marching south towards Derby on 3 November 1745.
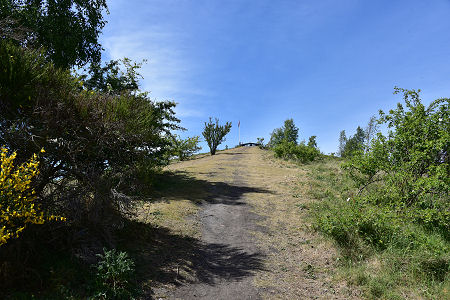 The Foot of the Climb to the Viewpoint |
|
|
|
Visitor InformationHeritage Trust WebsiteView Location on Map Grid Ref: NT 401 740 What3Words Location: ///torn.gladiator.voltages |
 The Summit Before Refurbishment |
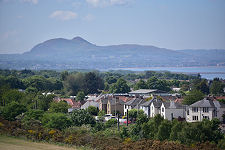 Arthur's Seat |
 Prestonpans |
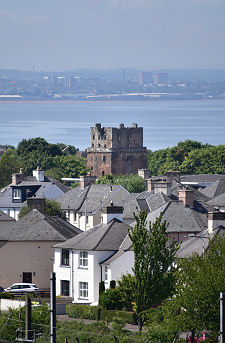 Preston Tower and Edinburgh |
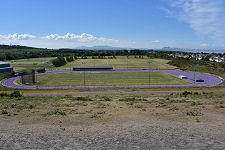 Running Track |
 Sports Centre |